In casting process, first few castings will be inspected dimensionally and the pattern is qualified afterwards, only few random inspection will be done. Every casting must be inspected for finding out the defects in casting process.
Different methods of inspection for finding out defects in casting process are discussed below
1. Visual Inspection
2. Hydrostatic Pressure Test
3. Magnetic Particle Inspection
4. Radiographic Examination
5. Ultrasonic inspection
6. Dye Penetrant Inspection
7. Coin Testing
Common defects such as surface roughness, obvious shifts, omission of cores and surface cracks can be detected by a visual inspection of the casting. (#casting )Cracks may also be detected by hitting the casting with a mallet and listening to the quality of the tone produced.
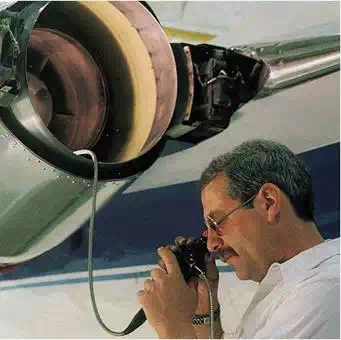 #casting testing
2. Hydrostatic Pressure Test
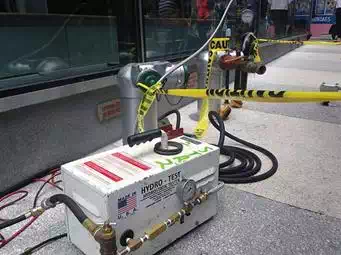
§ The Hydrostatic pressure test is conducted on a casting to be used as a pressure vessel.
§ In this test, first all the flanges and ports are blocked.
§ Then the casting is filled with water, oil or compressed air, Thereafter, the casting is submerged in a soap solution when any leak will be evident by the bubbles that come out.
3. Magnetic Particle Inspection
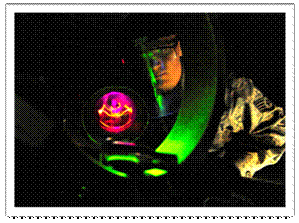
The Magnetic particle test is conducted to check for very small voids and cracks at or just below the surface of a ferromagnetic material. The test involves inducing a magnetic field through the section inspection. this done, the powdered ferromagnetic material is spread out onto the surface. The presence of voids or cracks in the section results in an abrupt change in the permeability of the surface; this, in turn, causes a
leakage in the magnetic field. The powdered particles accumulate on the disrupted magnetic field, outlining the boundary of a discontinuity.
# casting defects )
The radiographic method is expensive and is used only for subsurface exploration. In this, both X-rays and γ-rays are used. With γ-rays, more than one film can be exposed simultaneously; however, x-ray pictures are more distinct. Various defects, like voids, nonmetallic inclusions, porosity, cracks and tears, can be detected by this method. The defects being less dense, film appears darker in contrast to the surrounding.
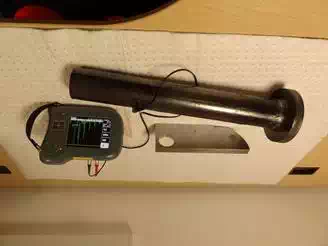
In the Ultrasonic method, an oscillator is used to send an ultrasonic signal through the casting. such as signal is readily transmitted through a homogeneous medium. However, on encountering a discontinuity, the signal is reflected back. This reflected signal is then detected by an ultrasonic detector. The time interval between sending the signal and receiving its reflection determines the location of the discontinuity. the method is not very suitable for a material with a high damping capacity (e.g. cast iron) because in such a case the signal gets considerably weakened over some distance.
6. Dye Penetrant Inspection (DPI)
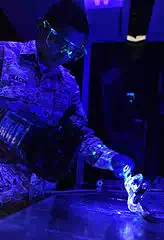 The dye penetrant inspection method is used to detect invisible surface defects in a nonmagnetic casting. The casting is brushed with, sprayed with, or dipped into a dye containing a fluorescent material. The surface to be inspected is the wiped, dried and viewed in darkness. The discontinuous in the surface will then be readily discernible.
7. Coin Testing
By hitting with coin on to the component and by hearing the sound coming from the casing, the presence of defect can be estimated.


